Last Updated on June 29, 2022 by Rebecca Huff
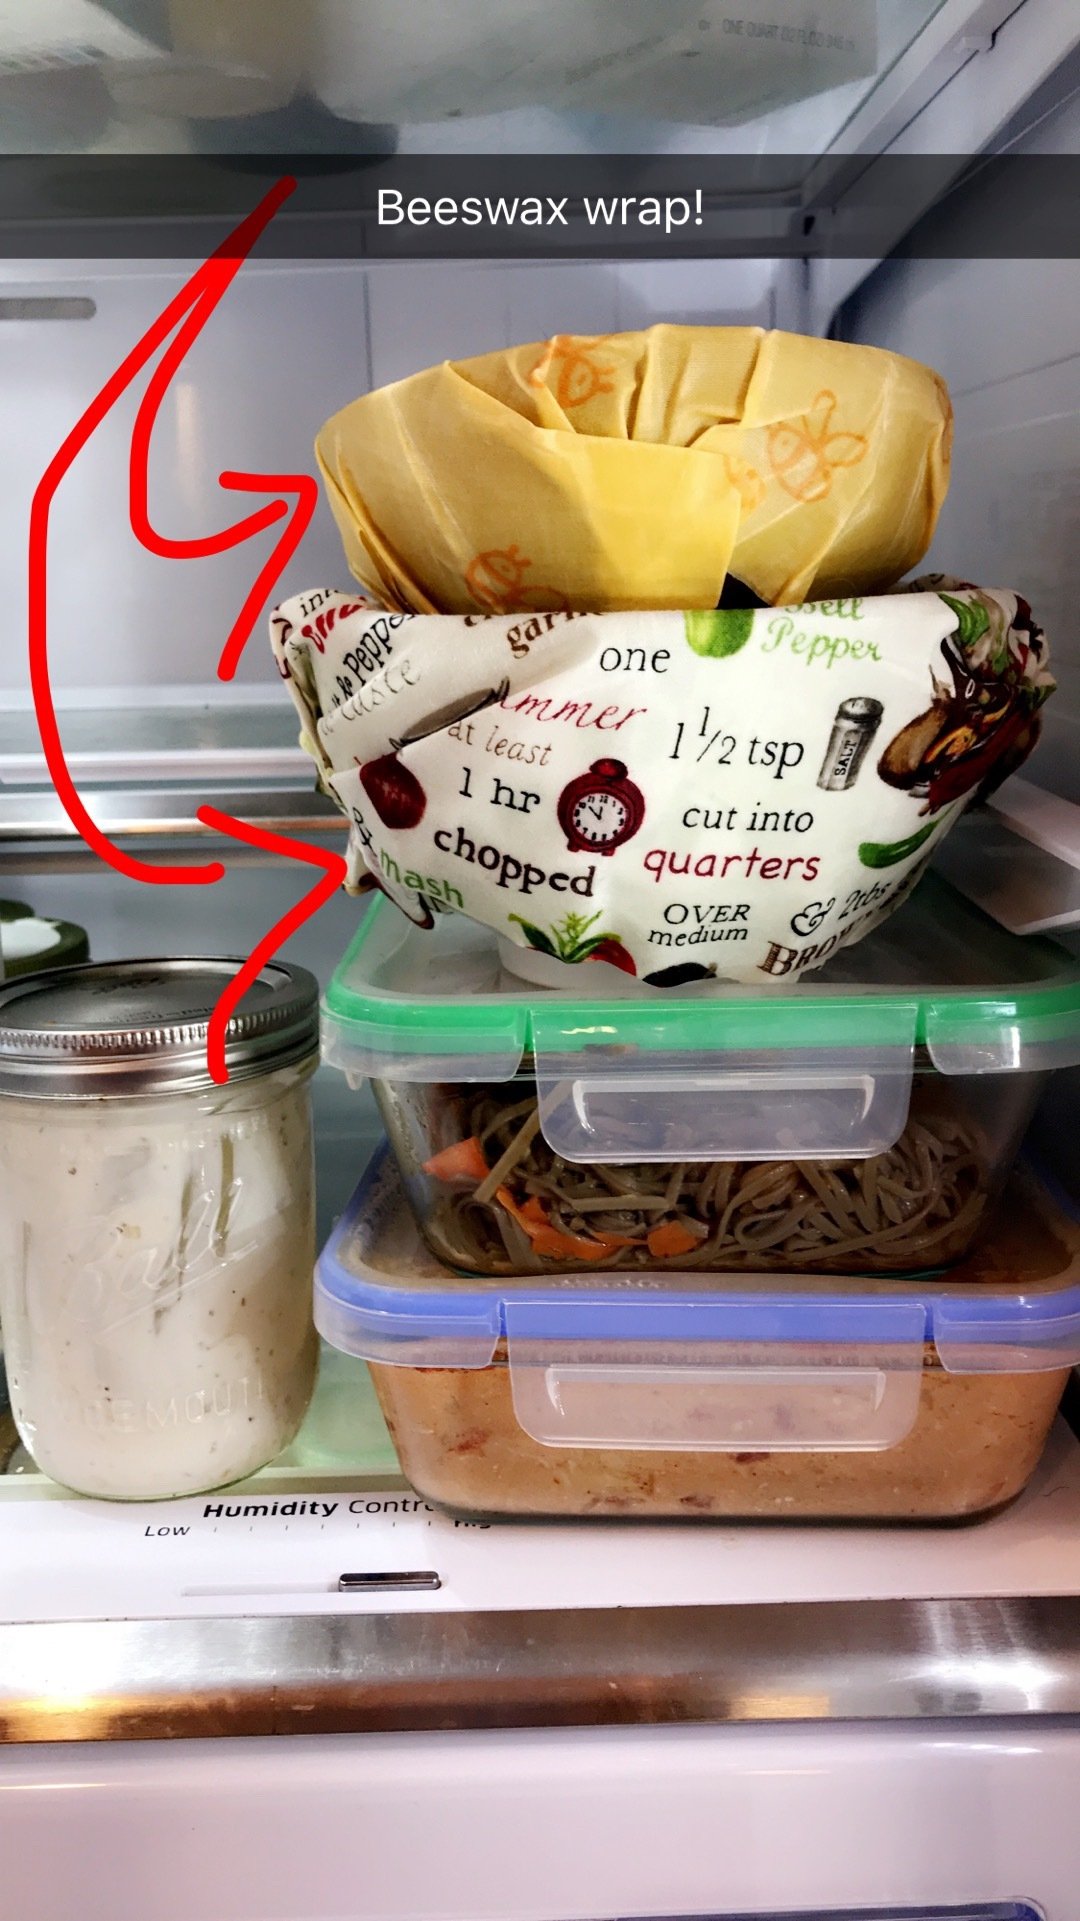
For the last few years, I have used Beeswax Wrap to cover bowls, wrap sandwiches, etc. DIY Beeswax Wrap was part of my goal to go green; which includes phasing out disposable products like plastic wrap and paper towels.
My adventure began when I purchased some beeswax pellets thinking I could use them to seal secret missives in the family. However, beeswax proved too sticky which is what gave me the idea to try making a homemade version of my favorite Beeswax wrap.
At first, I attempted to make the wrap with just beeswax, and while it worked, it wasn't quite as “clingy” as I had hoped, so it dawned on me (duh) to look at the package of Beeswax Wraps. The packaging ingredients listed beeswax, GOTS certified cotton, organic jojoba, and tree resin.
With a quick search on Amazon, I was able to come up with the ingredients I needed for my DIY Beeswax Wrap!
- Beeswax
- Pine Gum Rosin
- Jojoba Oil
- Cotton material (the certified organic is optional – you can use thin cotton of whatever variety you prefer, just make sure it's thin)
- Parchment Paper – I get a two pack at Costco but it can be found on Amazon here.
- Iron
- Ironing Board
A few fair warnings first.
You don't want to get wax on the iron that you use for your clothing, so take care. I used an old one we have that is broken on the edge but still useable. If you don't have a craft iron, a great place to grab one is at second-hand stores! I find all kinds of good things there. This year I got a Bissel vacuum cleaner for $7 that works perfectly!
Also, you will want to cover your ironing board with an old towel in case you get melted wax on it. Cover the floor beneath you with newspaper or whatever you have that you wouldn't mind getting melted wax on in case of spills. Trust me. I had to throw out my laundry rug because I didn't take the last precaution.
DIY Beeswax Wrap Details
The dynamics of this DIY project are pretty simple and straightforward. To be honest, I didn't even measure the ingredients, but I did go through a bit of trial and error. As I said, the beeswax alone was not sticky enough to have a good cling. When I added the Pine Rosin and Jojoba oil the result was much improved.
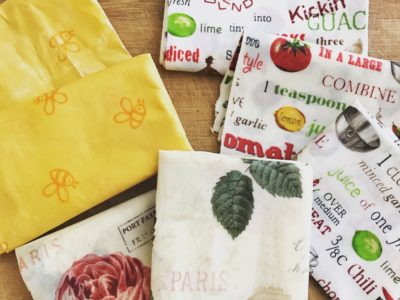
I would suggest adding equal parts wax and resin and just a few drops of Jojoba oil. The amount you need will depend on how big you are making your wrap. For the sake of experimenting, I bought 1/3 yard each of several different designs and gave away most of it to anyone who wanted some on my Snapchat story. (Perks of following me on Snapchat = sometimes I give away stuff, but the downside is you will see way too many snaps of my cats!)
With the 1/3 yard of fabric, I was able to cut four equal sized squares. These are the perfect size for covering a plate of food for my husband when he comes home after we've had dinner. They are also a good fit for sandwiches.
DIY Beeswax Wrap Instructions
To get started I cut two pieces of parchment paper to go over and under my material. You want to sandwich the cloth between the paper. On your open-face sandwich (bottom parchment and fabric) you will want to distribute the materials evenly. Then close your sandwich by adding the top layer of parchment paper.
Starting in the middle, iron your way out to the edges allowing the wax and resin to melt as you go. The iron should slide smoothly over the parchment paper. I didn't use anything to hold mine in place, but you could use some clothes pins or clamps to keep it fastened onto your ironing board or towel.
Watch the edges as you work towards them as the melted wax could run out from between the layers and onto your floor. I speak from experience. One technique that was helpful was to keep the bottom edge curled up slightly while I worked towards it. Then I turned the project around and did the same thing with the other side. Holding the edge up kept the melted wax from dripping.
It's better to have a bit too much wax than not enough. Too much wax you will be able to see covering the finished product, but not enough and you won't be able to seal properly.
After the entire piece of fabric is reasonably saturated, peel back the top layer. It cools quickly, so you can just pick it up and wave it around a minute to let it cool completely. When it was cool to the touch, I hung mine across my clothes rack where I dry my clothes. You could hang them wherever you like; they won't be dripping anymore.
After they have a chance to dry and set (which is no time at all), they are ready to use!
Caring for your DIY Beeswax Wrap
Washing the wrap is as simple as running it under cool water with a bit of soap. I don't use mine with raw meat, and I recommend not doing so in case of contamination. For raw meat, I always use glass only with lids that fit securely.
If you don't want to make your own Beeswax Wrap, you can always buy it already made from TruEarth.
Let me know if you have any questions, and if you make this wrap I'd love to see the final product!
 No Bake Coconut Macaroon Recipe – Low Carb, Sugar-Free and Gluten-Free
Thanks to the author for sharing such a great post. The article was very well written and providing diy beeswax wrap. It can be really great for people like me who are looking for grabbing more knowledge about it.
A great thanks for the information you have shared with us, it’s a very useful blog for us. I was always amazed with the detailing of the posts you share with us, how you manage to explain everything in such way that is easy to understand for all types of readers!! Find an incredible site Printstocknz.com.having lots of ideas and tips that can be handy
I made mine and find that it’s really sticky. Any ideas?
actually, it’s a good thing when they are sticky! This means they will last longer. The “too-sticky” feeling tends to go away over time but if you just feel like you need to do something with them, try ironing them with another piece of your fabric (between the parchment sheets so as not to get beeswax on your ironing board and iron!) the extra fabric will absorb some of the beeswax – let them both cool and then try them out. Sometimes if there is too much beeswax it may crumble but it’s nothing that an extra ironing won’t fix.